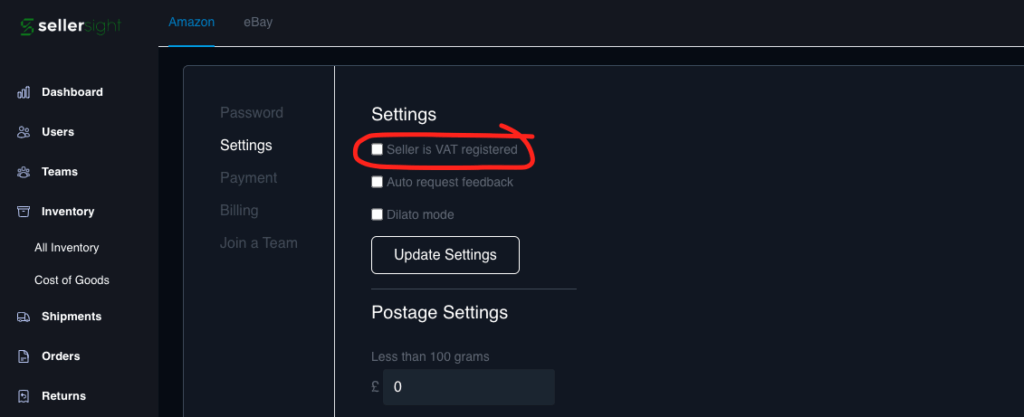
Click Update Settings, then return to your dashboard.
3. Add your Cost of Goods (COG)
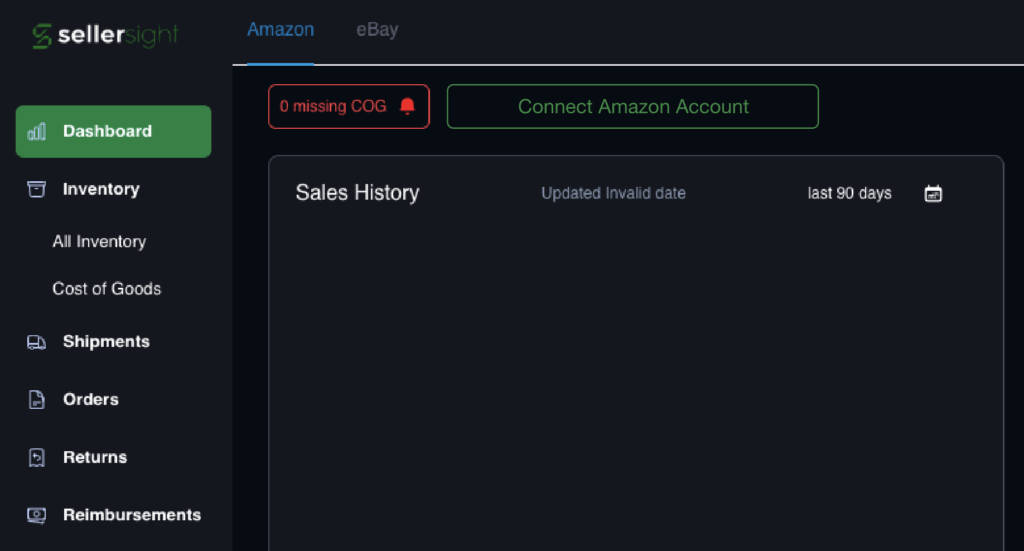
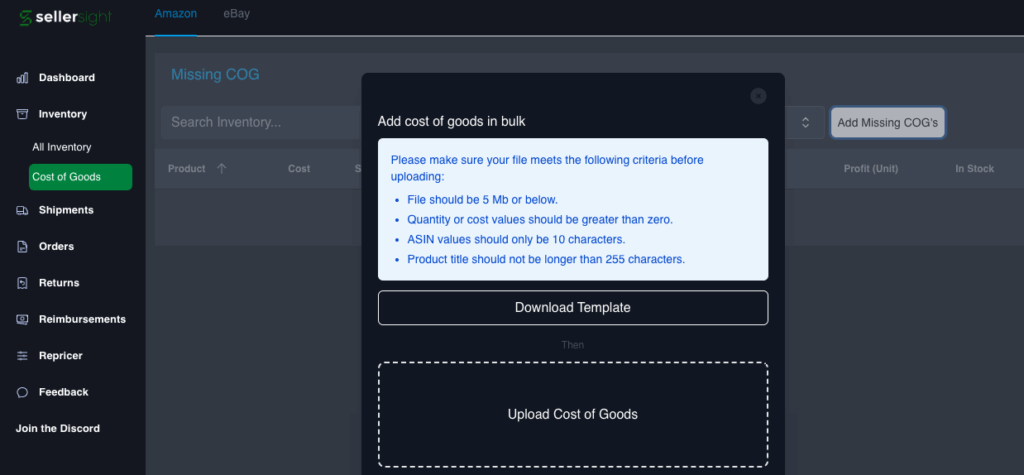
Next, head over to the Cost of Goods page in SellerSight. Adding your COGs is essential, as it allows SellerSight to calculate your true profit and ROI instead of just showing raw revenue. Without this step, your profit reporting won’t be accurate.
You can add your costs in whichever way works best for you:
Enter them manually for each product.
Add them in bulk directly inside SellerSight.
Or upload them using a CSV file, for example from another service you already use.
For a detailed walkthrough of each method, check out our full guide here: Adding Cost of Goods.
4. Turn on automated feedback
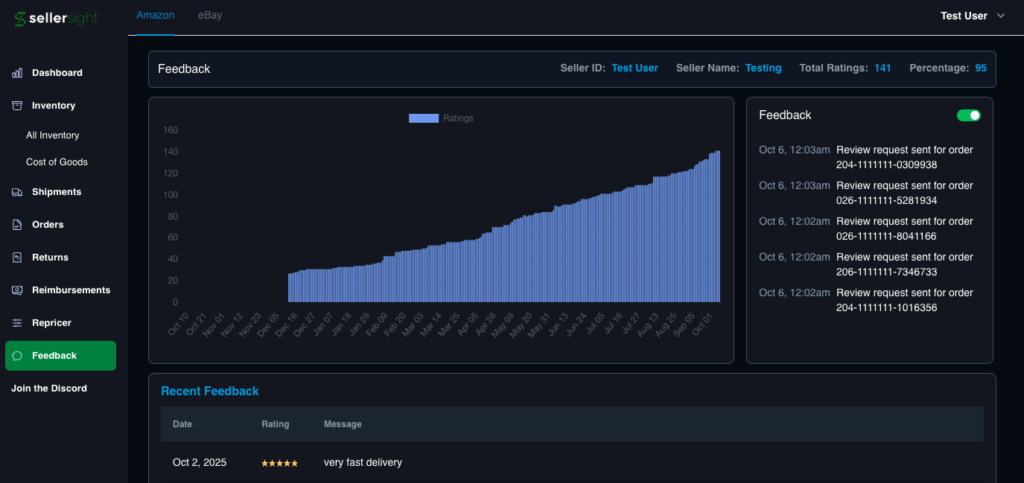
Go to the Feedback page and simply switch it on.
SellerSight will automatically send Amazon’s pre-approved review requests within their allowed timeframe.
This gives you a consistent way to grow your account reviews without any manual work.
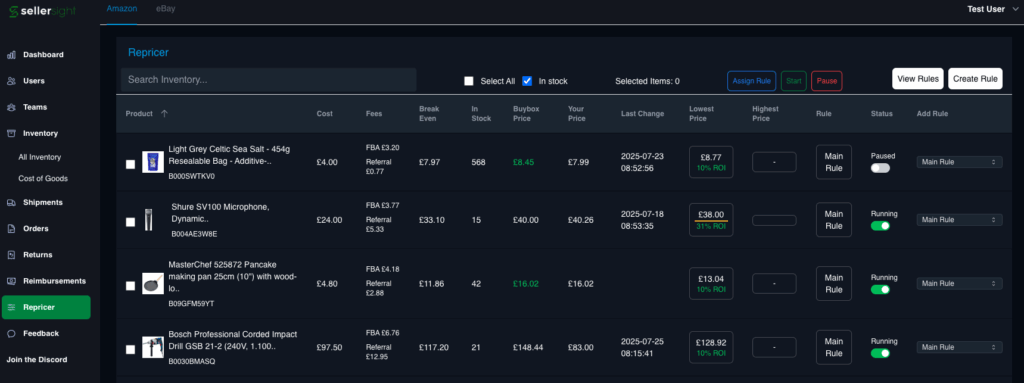
5. Set up the repricer
Once your costs are entered and feedback automation is running, it’s time to set up your pricing strategy. Head over to the Repricer page in SellerSight – this is where you’ll create rules that control how your products are priced.
To get started, simply create your first rule, assign it to an ASIN, and switch it on. From that point, the repricer runs automatically every 15 minutes, scanning the competition and adjusting your prices to keep you competitive.
Amazon is a highly competitive marketplace, and the repricer is designed to give you an edge without the need for constant manual updates. You can read the full setup guide here: Using the Repricer.
✅ That’s it – once you’ve completed these steps, your baseline setup is finished and SellerSight is fully up and running. From here, you can return anytime to check in on your sales, profit, and orders, or explore reports like reimbursements, refunds, and fee breakdowns.
With the essentials in place, SellerSight will keep working in the background – tracking your performance, keeping your prices competitive, and automating the tasks that would otherwise take up your time.
You’re all set – now let SellerSight do the heavy lifting while you focus on selling.